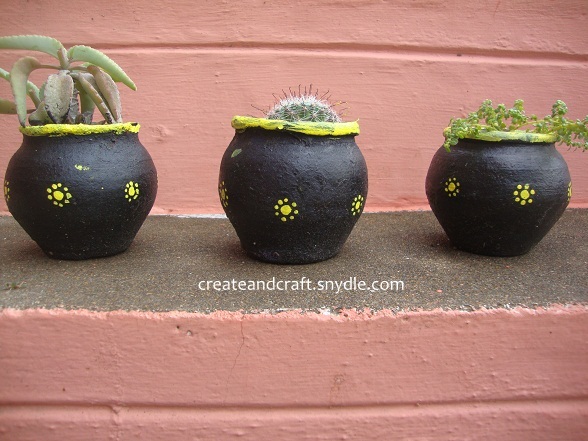
Pot are the best planters who don’t have direct soil to plant their tiny plants. I had a bunch of tiny little pots. I used them as planters for small plants and succulents in my house.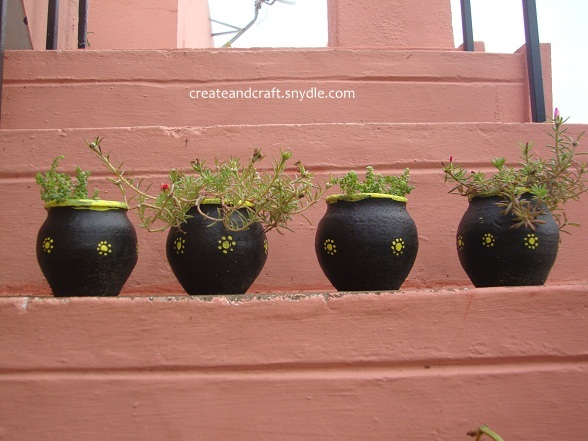
These pots are adorable for the pretty shape and the tiny size. To make it even more attractive I made simple paintings on them. I had plenty of them so I chose a very simple design. You can do any kind of doodling and let your imagination play the game.
Here is how I made them.
Supplies Required :
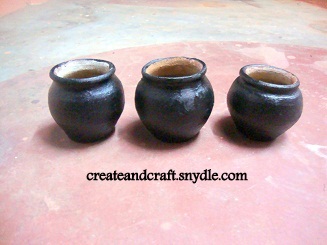
- Tiny mud pots
- All purpose paint (Black and yellow)
- Brush two sizes (Broad and 5mm)
- Sand paper.
- Soil/Dirt
- Tiny plants/Succulents
Method :
- Pick your little pots and rub its outsides with Sand paper a little to smoothen it
- Apply a primer on all the pots
- Let them dry.
- Use broad brush to paint Black colour(You can paint any of your favourite
 background colour) on all the pots.
 - No need to paint the bottom
- Let it dry for an hour and then start your designing
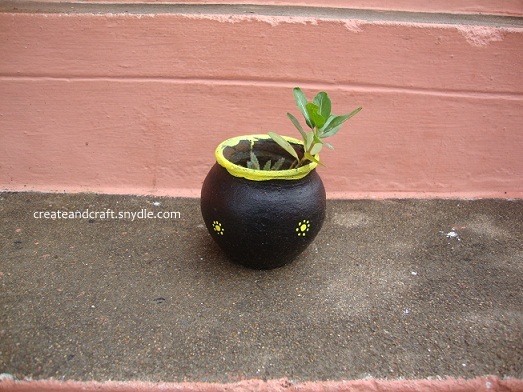
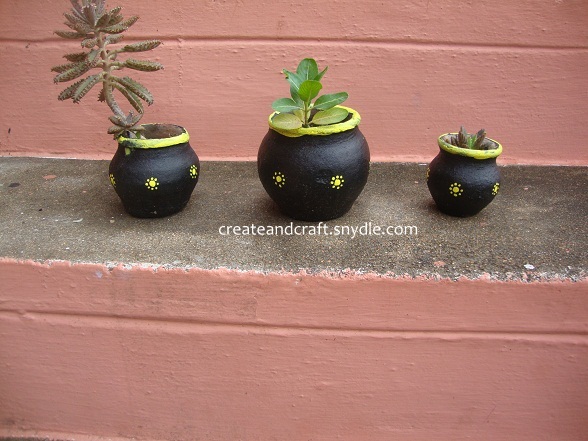
- I did a simple design with yellow dots on black background and the contrast combination was amazing and it looks attractive
- I even painted the brim of the pots with the yellow colour.
- After designing let them dry for 20 mins.
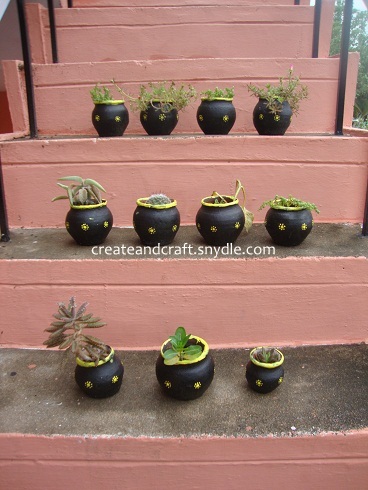
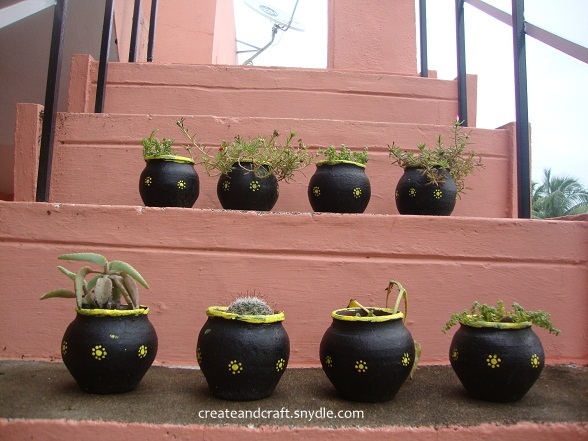
- Now the planters are ready fill in t he soil and plant your favourite plants on them.
- They look even more cute now.
- I arranged them along my steps. They make my railings look even more prettier.
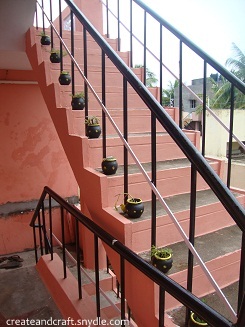
- Love these cuties. Try your own and add colour to your roof gardens 🙂
Happy crafting